

I am kind of anti-spending money, if you haven’t noticed. I kind of have mini panic attacks when I am faced with aisle upon aisle of toys and maniacal shoppers beating each other down just to grab that extra fancy gaming system which for a short time is almost worth the price that their children will pay in hours of slowly turning their minds to goo. (Can you tell I’m not a big fan of video games either? Yes, I admit it. I am living a dichotomy since that is the favorite form of entertainment for Geeks everywhere. Mine is no exception. Sigh. Rabbit trail over…)
So in spite of the fact that local craft and hobby stores have amazing sales on Christmas doo-dads, I just can’t bring myself to load up on them! Sad. I know. I should be out there shoulder to shoulder with all of the post-holiday deal hunters, right? Umm. Sorry. No can do. So I make my own!
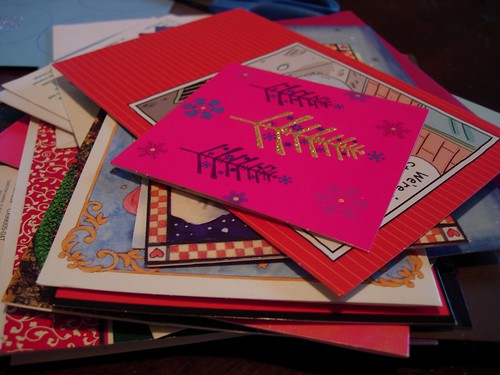
My mama always had such great ideas for decorating on the cheap. My favorite on was always the Christmas Card Balls. It involves a bit of planning in advance and a bit of well, pack-rattyness.
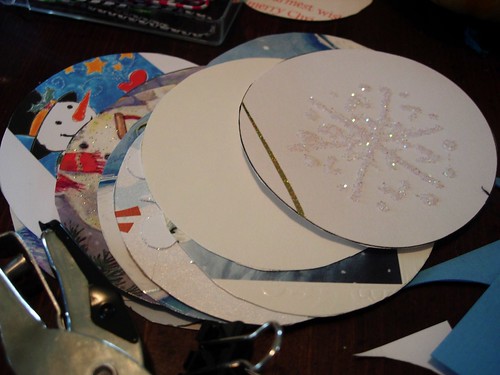
Now take a cookie cutter, a jam jar, or anything else that will make a nice small circle and trace 20 circles around the pretty parts of your Christmas cards. (no overlaps!) Then cut them out.
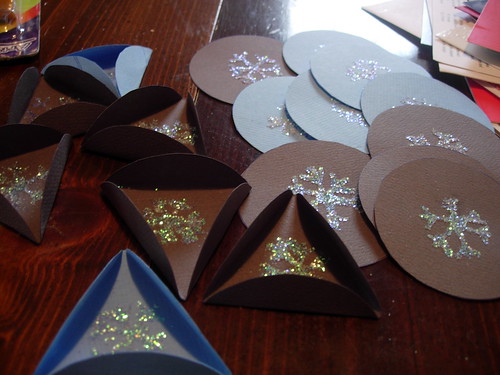
(The next step is a bit tricky, so you might want to make a little guide triangle to help you.) Once the circles are cut out, fold the edges in to make a triangle. (see above picture if you just turned your head and said ‘Baroo?’)
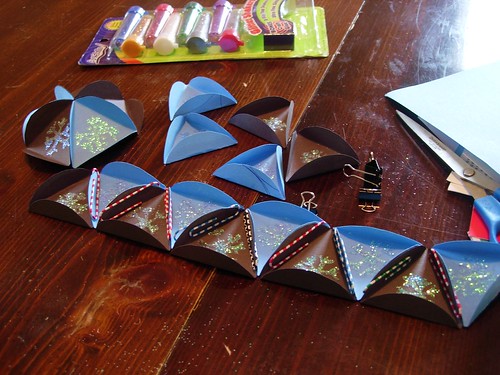
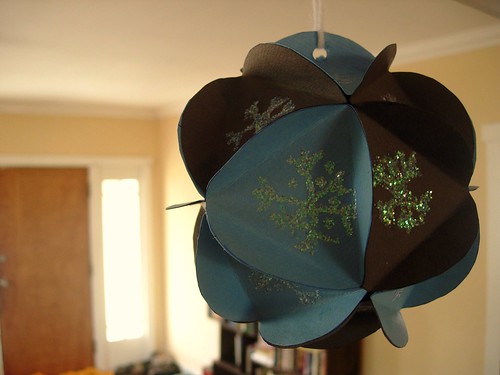
From there you can either fancy up the edges with a little glitter, or ribbon, or leave it plain. Then punch a hole in one of the glued together edges, run a ribbon through it and hang on your tree or in a doorway for you to ooh and ahh at and for your tall husband to bonk his head on and swear under his breath every time he goes through that doorway. Ahh. The holidays.
Have a great weekend. I'll be back on Monday!
No comments:
Post a Comment